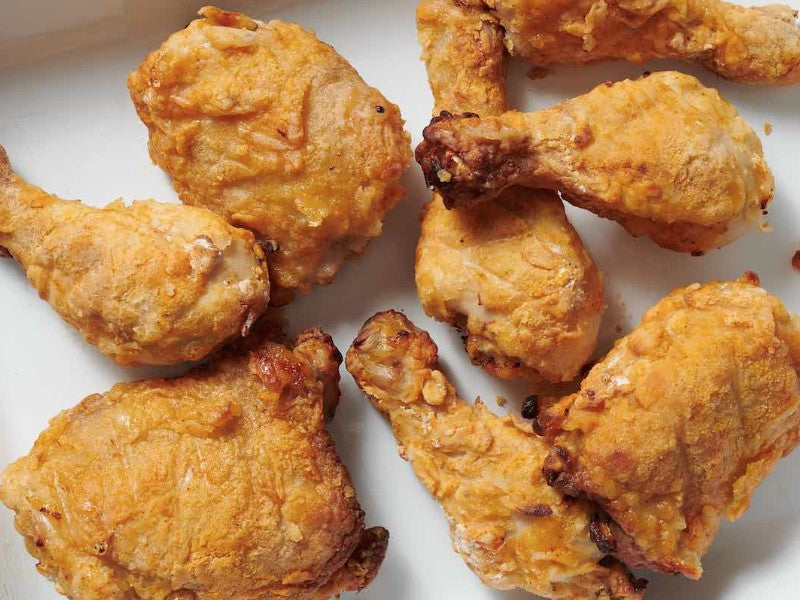
Like everyone, I love deep-fried chicken, especially when watching football games, but we all know it’s not the healthiest option. Actually, you can recreate that crispy crust while keeping the meat tender and juicy by frying it in the oven with virtually no oil. Besides being healthier and lower in fat, this method is much easier - no need to hover over the stove, just pop the chicken in the oven and let it cook. My oven-fried chicken recipe is not only easy to prepare, but also finger-licking good. Let’s dive into the details.
Ingredients:
- 3 lbs of your favorite chicken pieces, bone-in, skin-on
- 1 cup buttermilk
- 2 tablespoons hot sauce
- 2 cups all-purpose flour
- 1/2 cup cornstarch
- 1 tablespoon paprika
- 2 teaspoons garlic powder
- 2 teaspoons onion powder
- 1 teaspoon cayenne pepper
- 1 tablespoon kosher salt
- 1 teaspoon black pepper
- 4 tablespoons unsalted butter
Equipment:
- Rimmed baking sheets
- Wire cooling racks
- Oven thermometer
- Large mixing bowls
- Basting brush
- Tongs
Is Oven-Fried Chicken Healthy?
Let’s put it this way: oven-fried chicken is healthier than traditional deep-frying because it uses less oil, which means significantly less saturated fat and calories. However, it’s still not a salad, so don’t expect it to be a miracle weight-loss dish. If you really want to go all-in on the healthiest side, you might want to try my sous vide chicken breast recipe.
Chicken Breast vs. Thighs vs. Drumsticks vs. Wings
The part of the chicken is entirely up to your preference. You can also try a combination of everything, just like KFC’s Original Chicken. Most importantly, keep the skin and bones intact to maintain rich flavor, tenderness, and juiciness. Unless you’re planning on using it for chicken sandwiches, then use boneless, skin-on whole chicken breasts. My favorite is a mix of drumsticks and wings, as they’re smaller and fry up nicely crispy.
How to Make Fried Chicken in the Oven?
Step 1: Marinate for Tenderness
In a large bowl, pour in enough buttermilk, add salt and pepper, and mix well. Toss your chicken pieces in, making sure they are submerged. Then cover the bowl and refrigerate it for at least 30 minutes, preferably overnight. This is the secret to incredibly juicy meat.

Step 2: Make Crispy Coating
Preheat your oven to 400°F (200°C). Take a rimmed baking sheet and fit it with a wire rack. Lightly brush the rack with oil. In a separate large bowl, whisk together your dry ingredients. For this oven-fried chicken recipe, I use 2 cups all-purpose flour with 1/2 cup cornstarch, plus spices like paprika, cayenne pepper, garlic powder, and onion powder.

Step 3: Dredge and Press
Work with one piece of chicken at a time. Lift it from the buttermilk, letting the excess drip off. Dredge it thoroughly in the flour mixture, pressing down firmly to ensure the coating sticks and forms craggy bits for extra crunch.

If you want an even thicker crust, do a double-dredge - dip the chicken back in the buttermilk and then into the flour again for a second layer. Once coated, place each piece on the wire rack.
Step 4: Fry Chicken in the Oven
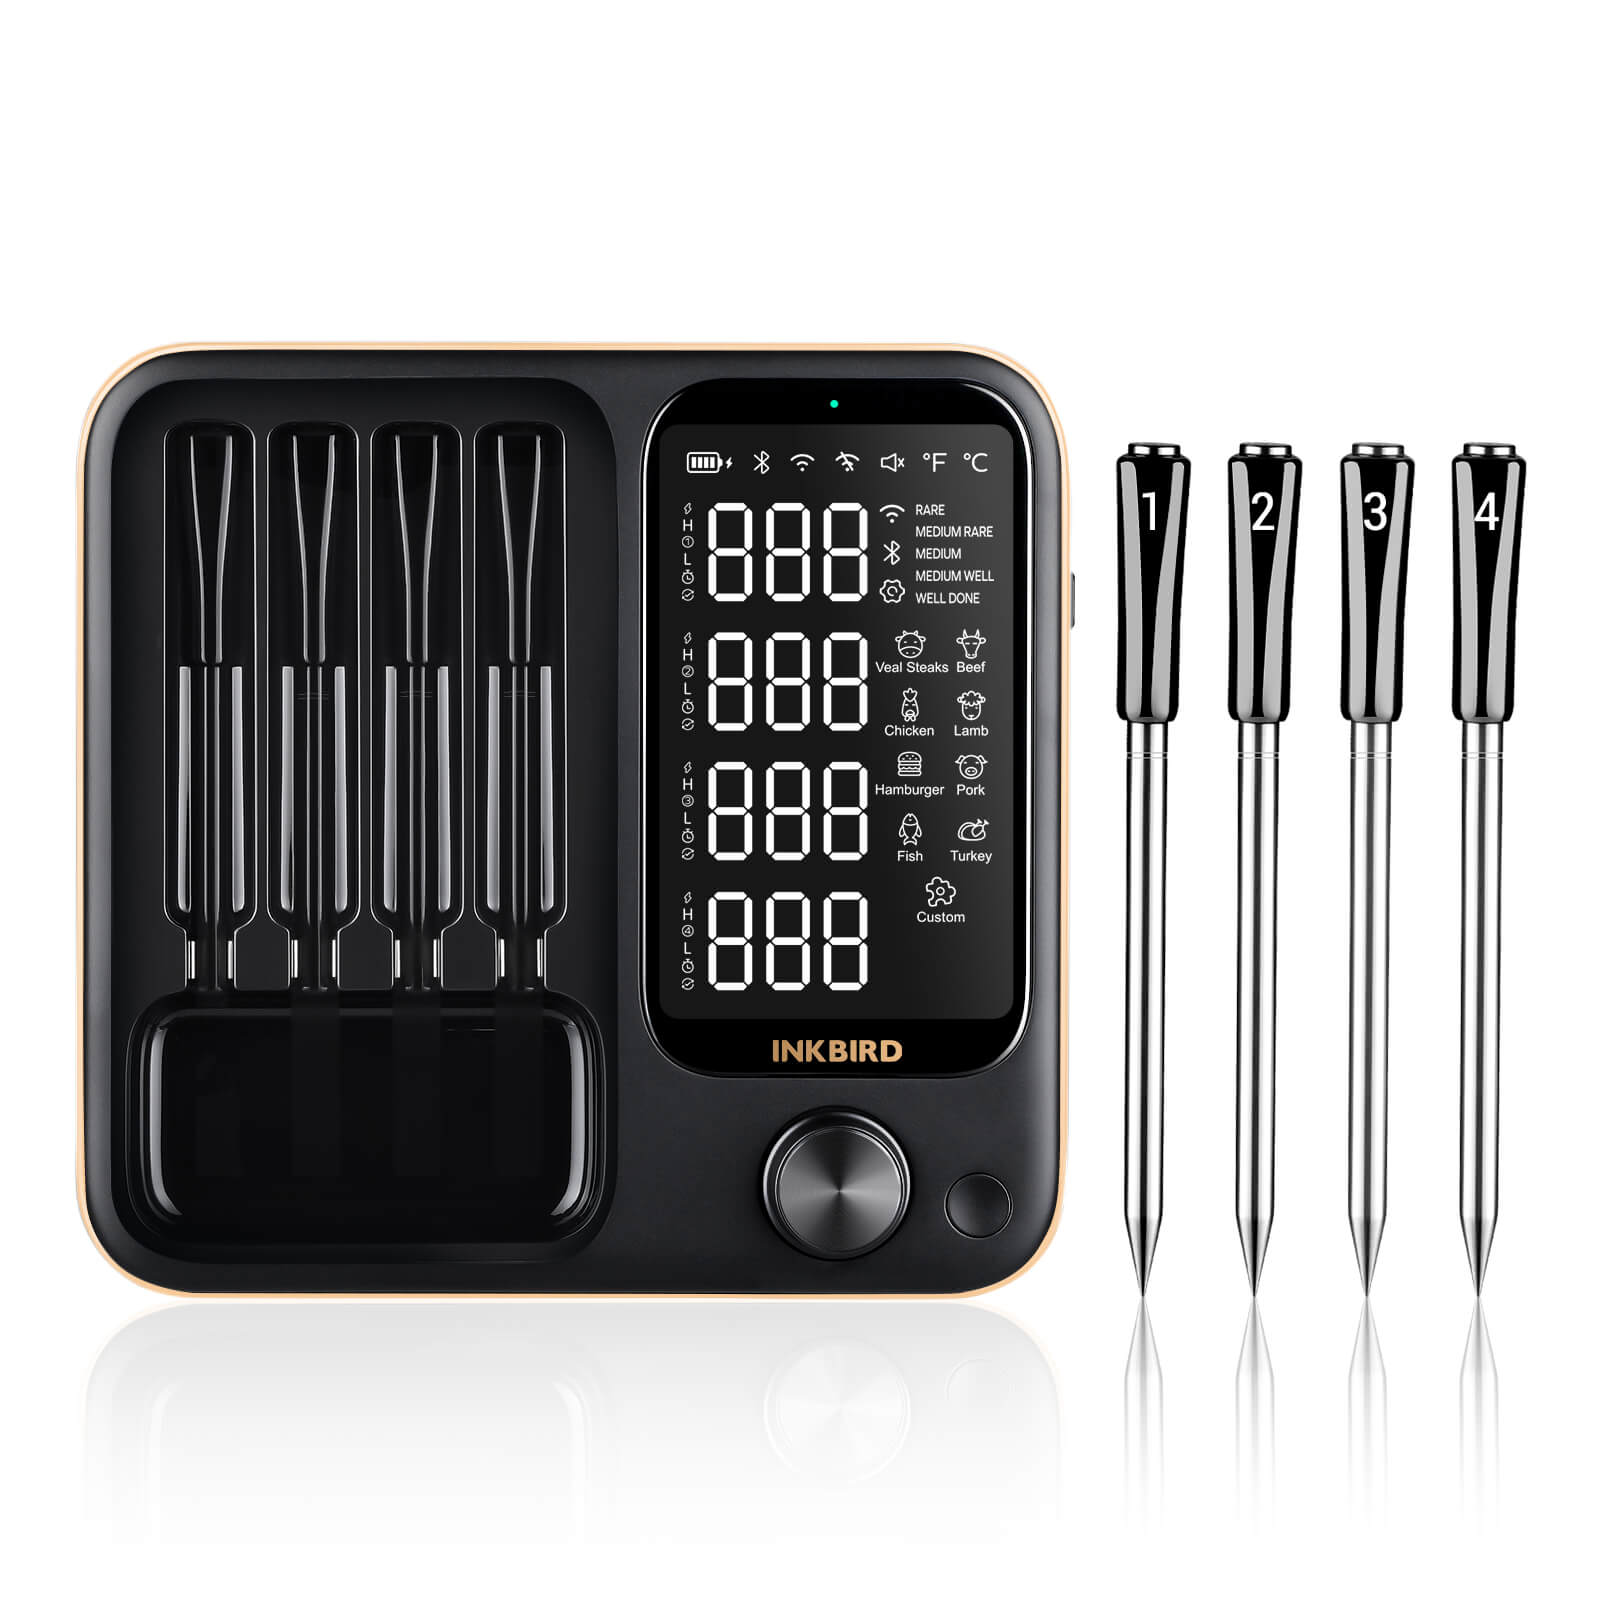
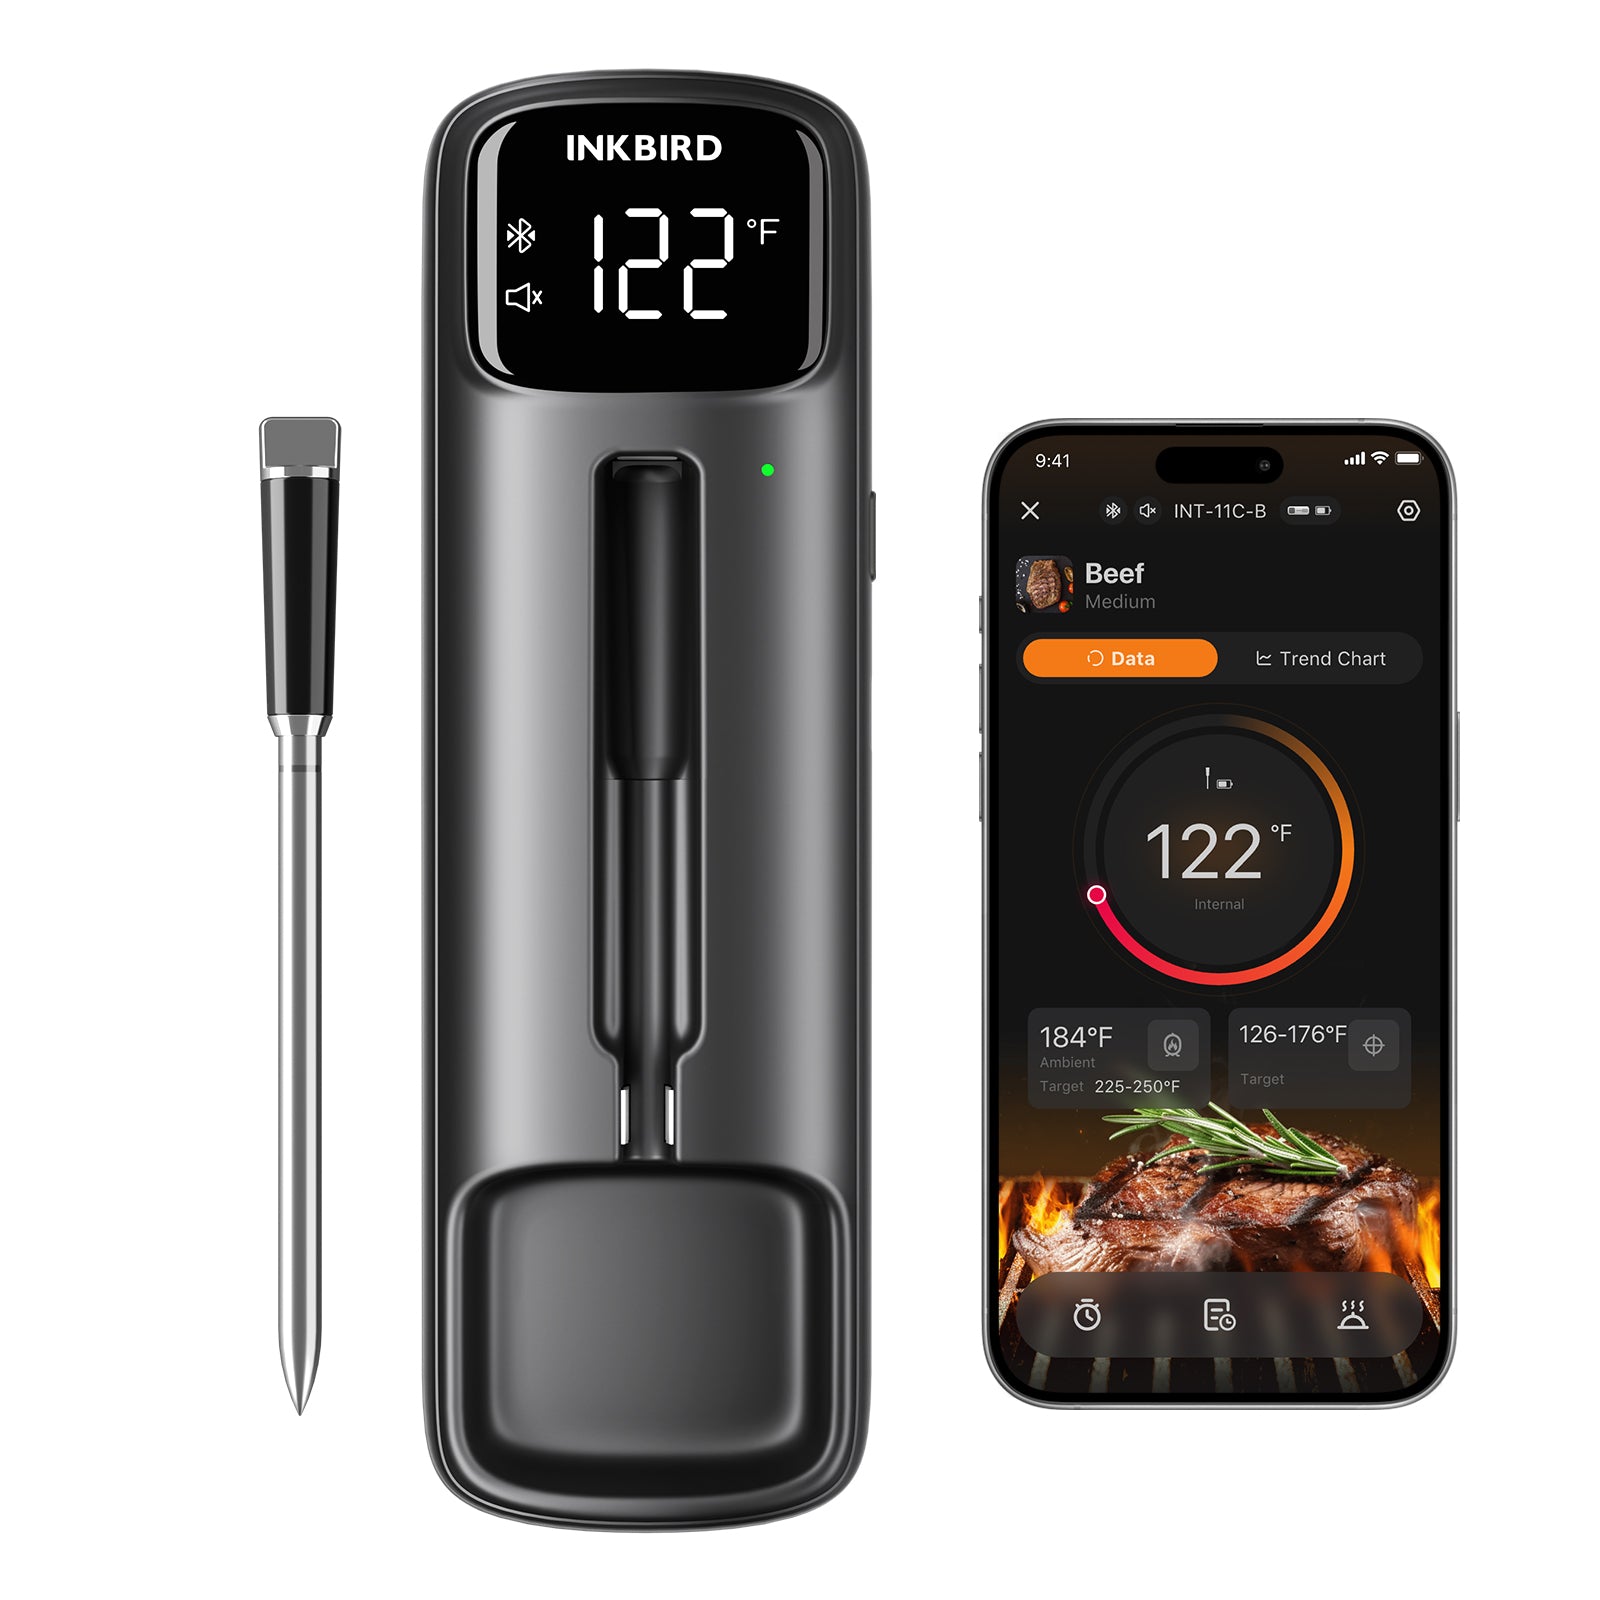
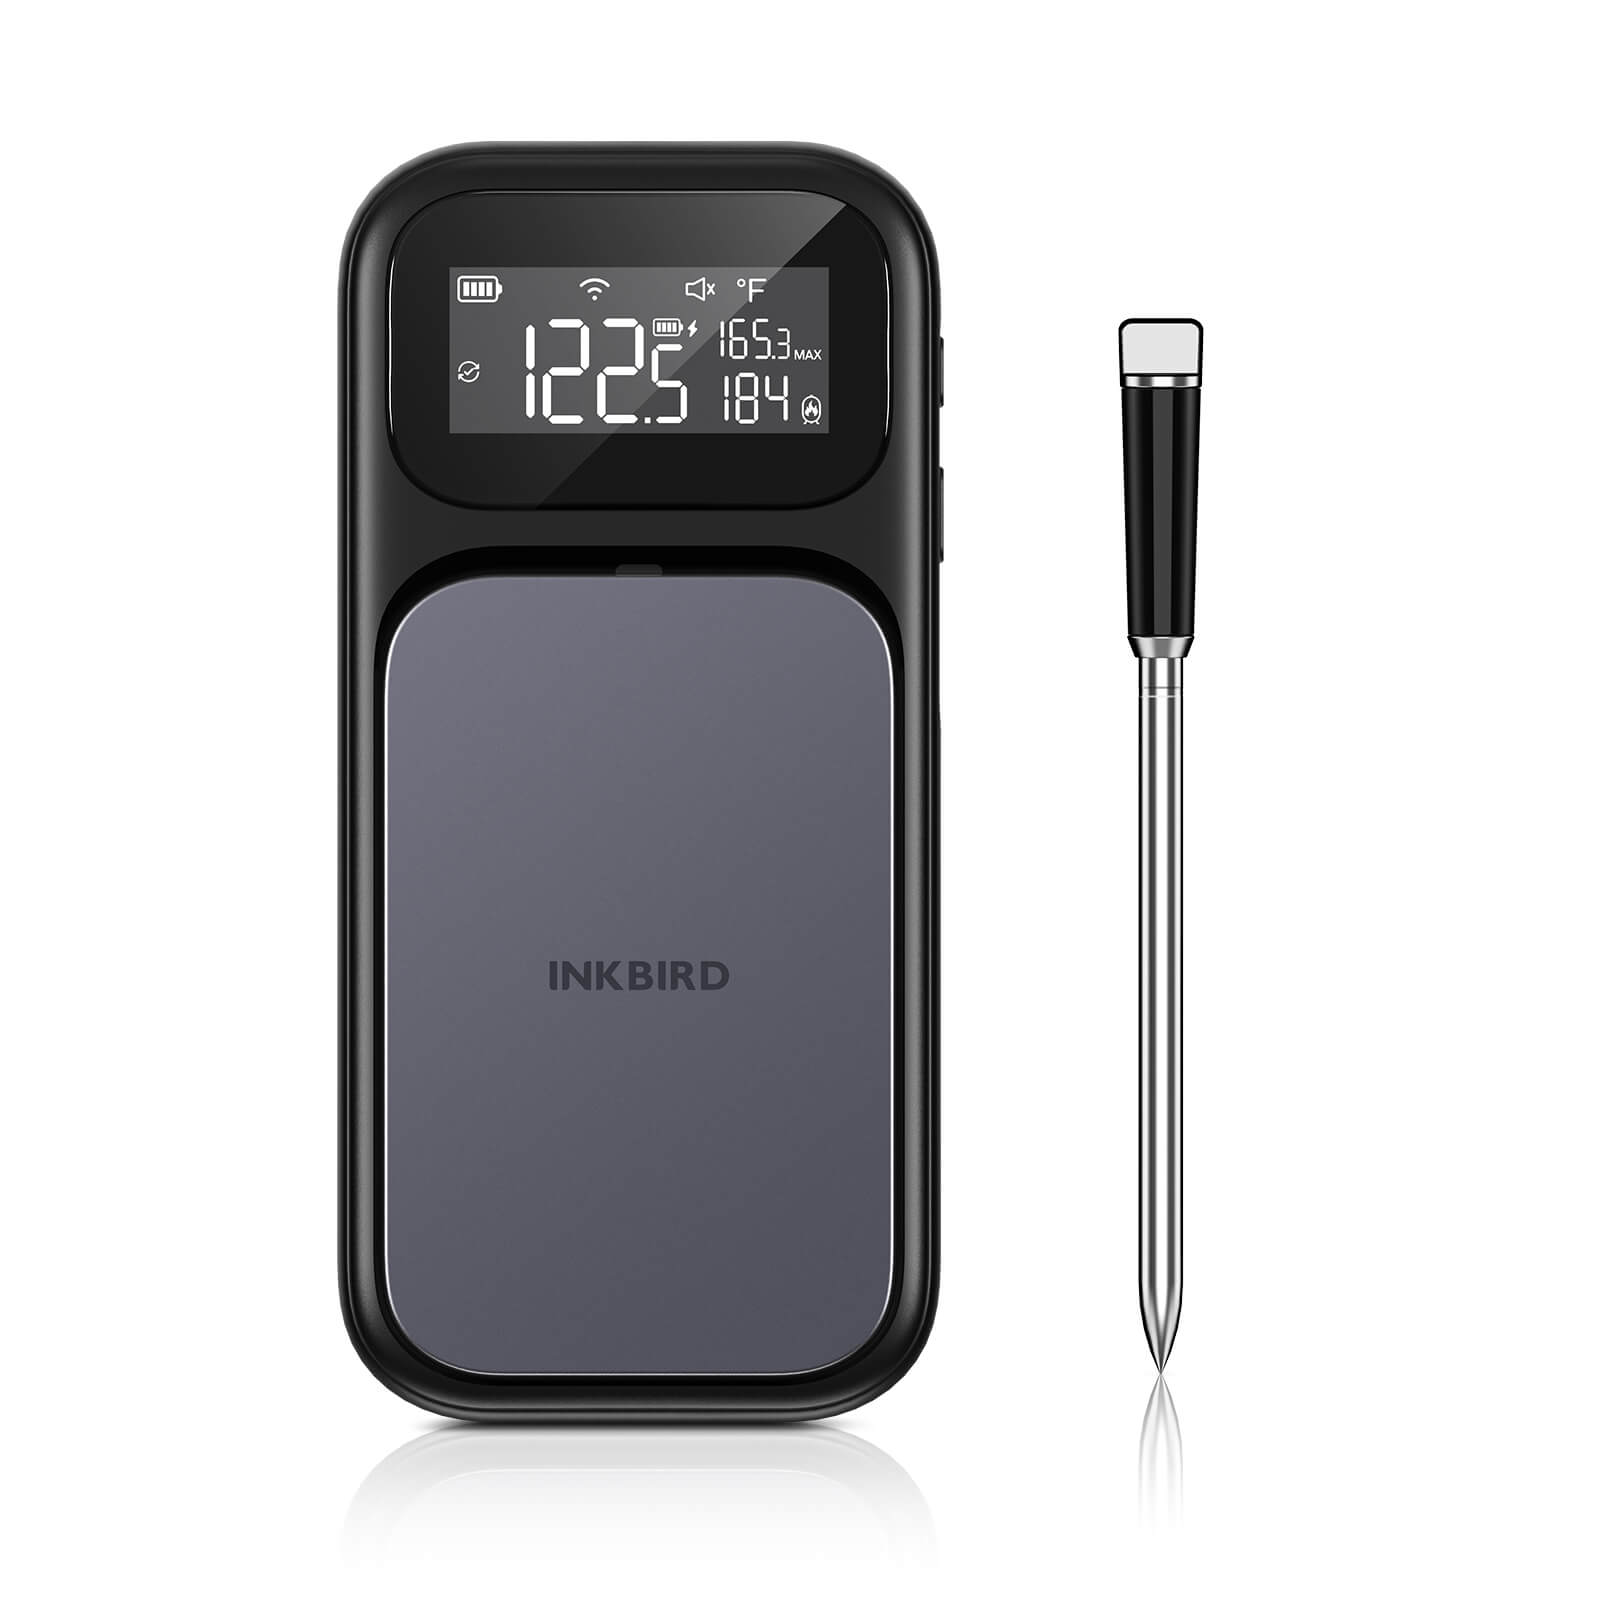
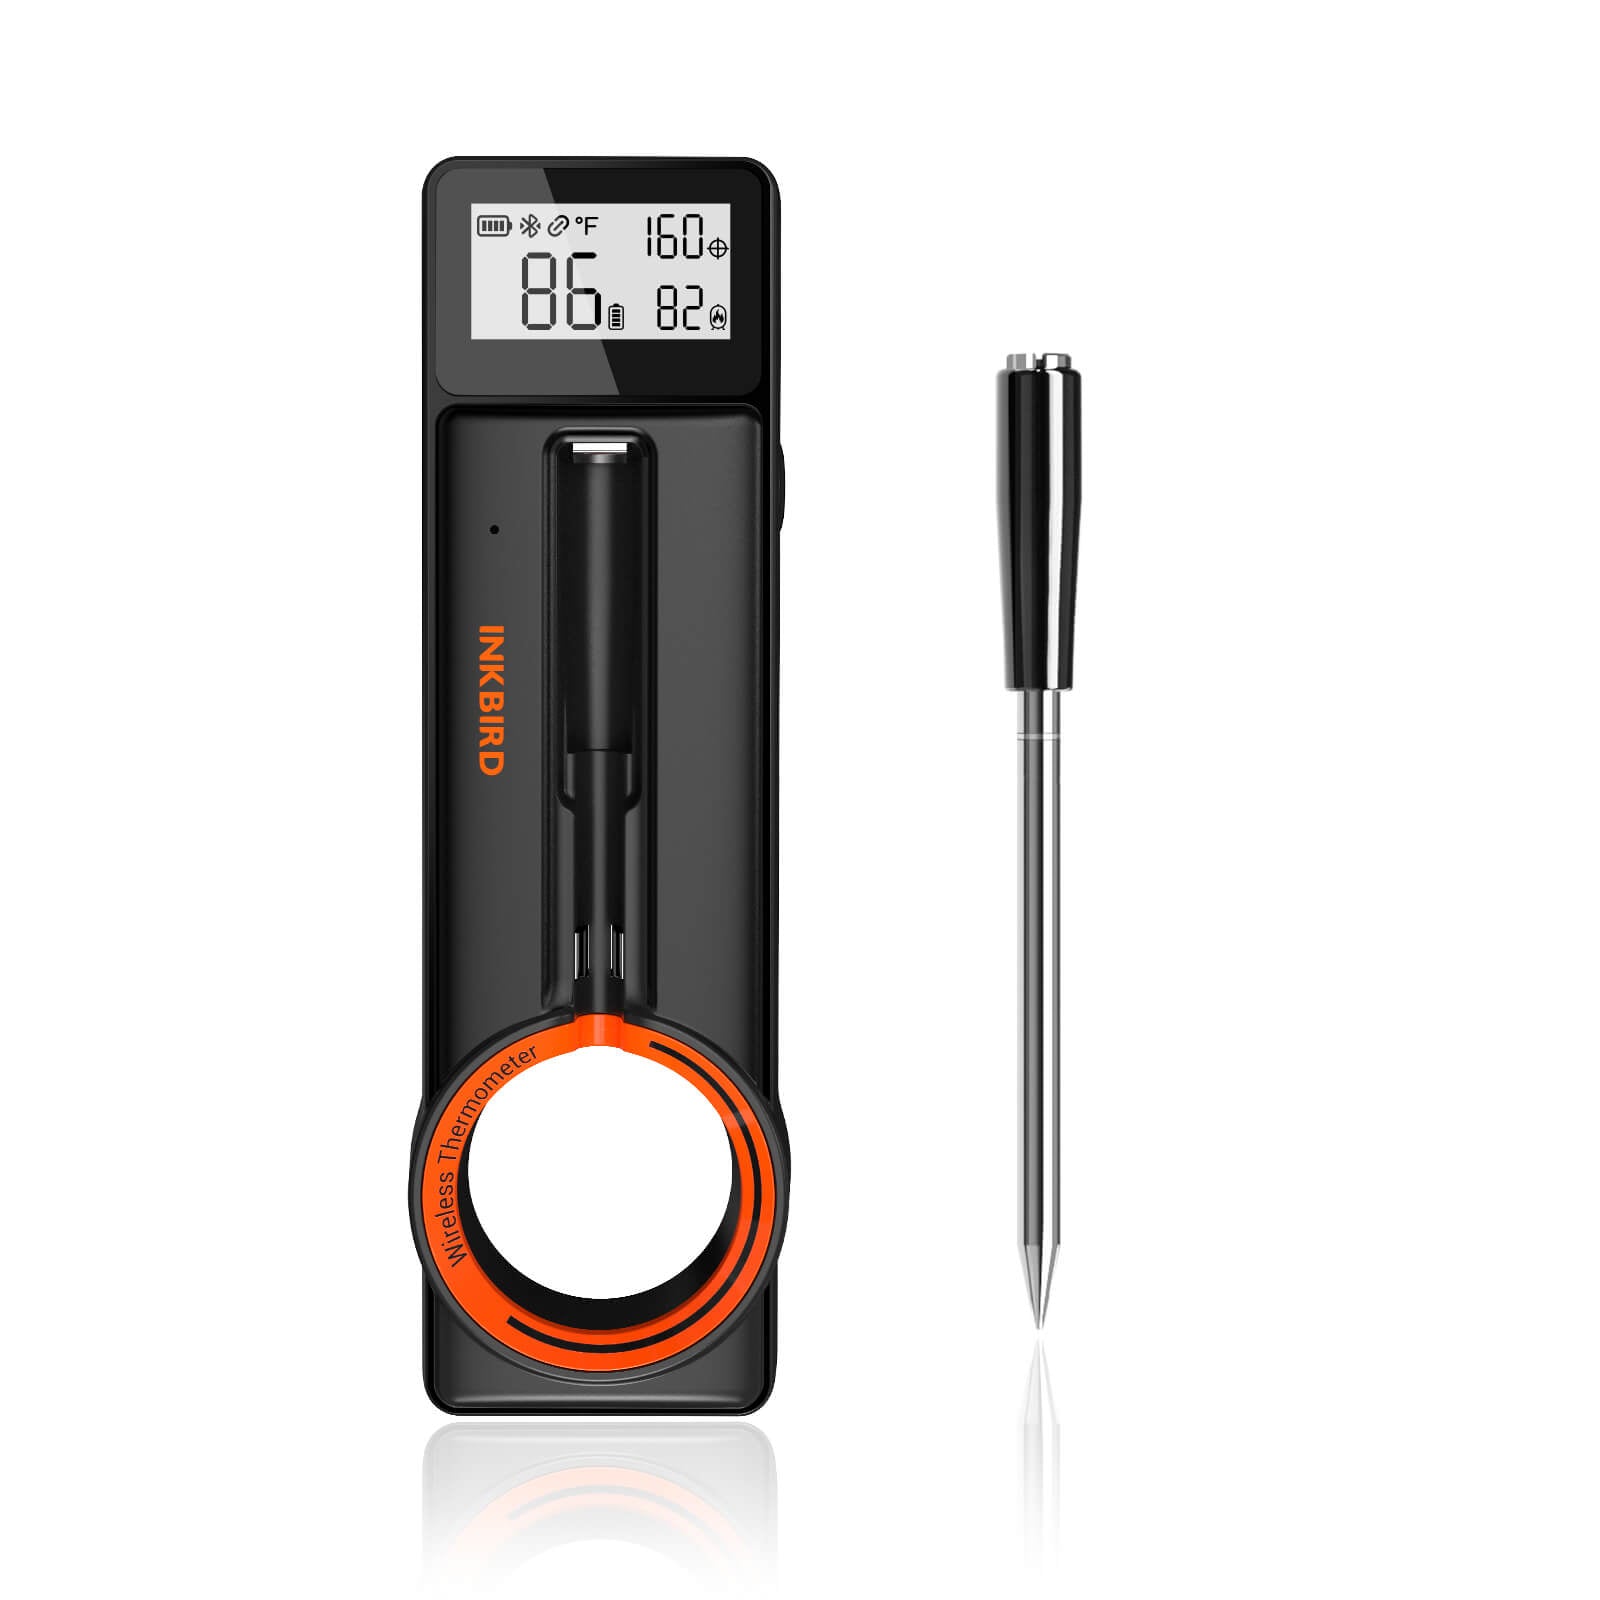
Once all the chicken is breaded and on the rack, lightly brush each piece with melted butter. Since I’m using a smart meat thermometer, I insert the probe into the thickest part of the chicken, avoiding bones, at this stage. Then, set the thermometer to 165°F (74°C) to ensure the chicken won’t overcook, which typically takes about 40 to 50 minutes.
Pop the chicken into the hot oven, and remember to flip it with tongs after the first 20 minutes for extra crispiness.

Step 5: Rest and Serve
Remove the chicken from the oven and let it sit on the wire rack for 5 minutes before serving. This allows the juices settle back into the meat, making sure each bite is moist and flavorful.

Tips for Crispy Baked Fried Chicken
Use a meat thermometer. When cooking any meat, especially chicken, I recommend using a meat thermometer to ensure the doneness and safety. According to the USDA, chicken is fully cooked at 165°F.

Marinate in advance. If you have time, marinate the chicken in buttermilk overnight for extra tenderness and juiciness.
Don’t overcrowd the rack. Leave enough space between each piece of chicken. If the rack is too full, air won’t circulate around the chicken, preventing the skin from crisping.
Use a rimmed baking sheet. A regular sheet may hinder the airflow too.
Add oil generously, but not too much. That spritz of oil can help create the fried texture without deep-frying.
Start with high heat. The initial blast of high heat helps set the crust and start the browning process.
How to Store and Reheat Leftovers?
To store, let the chicken cool completely, then place it in an airtight container in the refrigerator for up to 4 days. If you want to keep it longer, place it in a freezer bag and use a vacuum sealer to remove the air from the bag. If can be frozen for up to 6 months. When you’re ready to reheat, thaw the chicken in the refrigerator overnight.
To reheat, pop the chicken in a preheated 375°F oven until the internal temperature registers 165°F using a meat thermometer. Do not microwave the chicken, as it will become soggy.


Share: